This is going to be a long one, but its the only way to tell the whole story.
Growing Up
Ever since I can remember I have been a tinkerer. As a kid I was fascinated how things worked and the mechanisms that made them tick. Almost all of my childhood toys got disassembled at some point. Most of them were broken before disassembly, some during, but a few actually got fixed to see another day. All the while I was taking in all the engineering that went into everything.
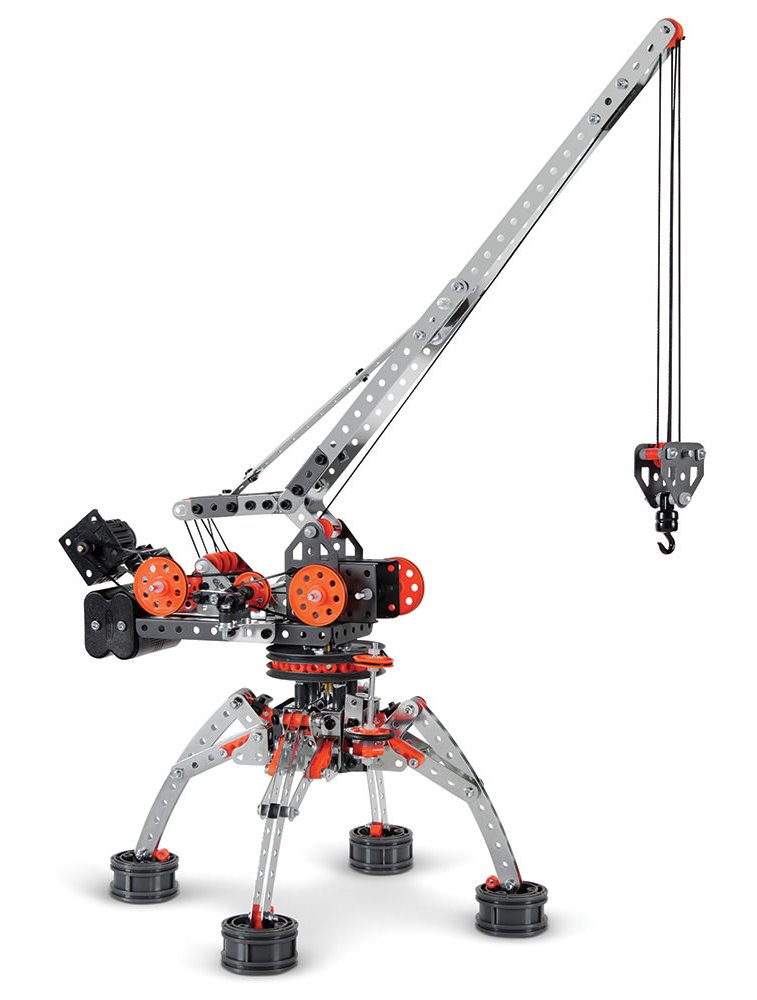
As soon as I could, I made things. For a 5 year old that meant LEGOs and K’NEX. I spent far more time playing with K’NEX than LEGOs. I think it was because they fare better when it comes to making things with rotating, hinged, sliding, and actuated mechanisms. Later on I got an Erector set. Those take a bit more thought when building stuff, but I was all about it.
Aside from the physical mechanics of things, the electronics is another big interest of mine. There’s a HUGE amount of information online and I have learned a lot from it. I’ve made a few circuits on those universal perfboards, but quickly got tired of ugly messy trace routing on them. I was ready to make “real” printed circuit boards (PCB) but I didn’t want to deal with the chemicals involved in etching. I also didn’t want to pay someone else to make them for me so I went the other home prototyping route — milling them.
CNC Engraver
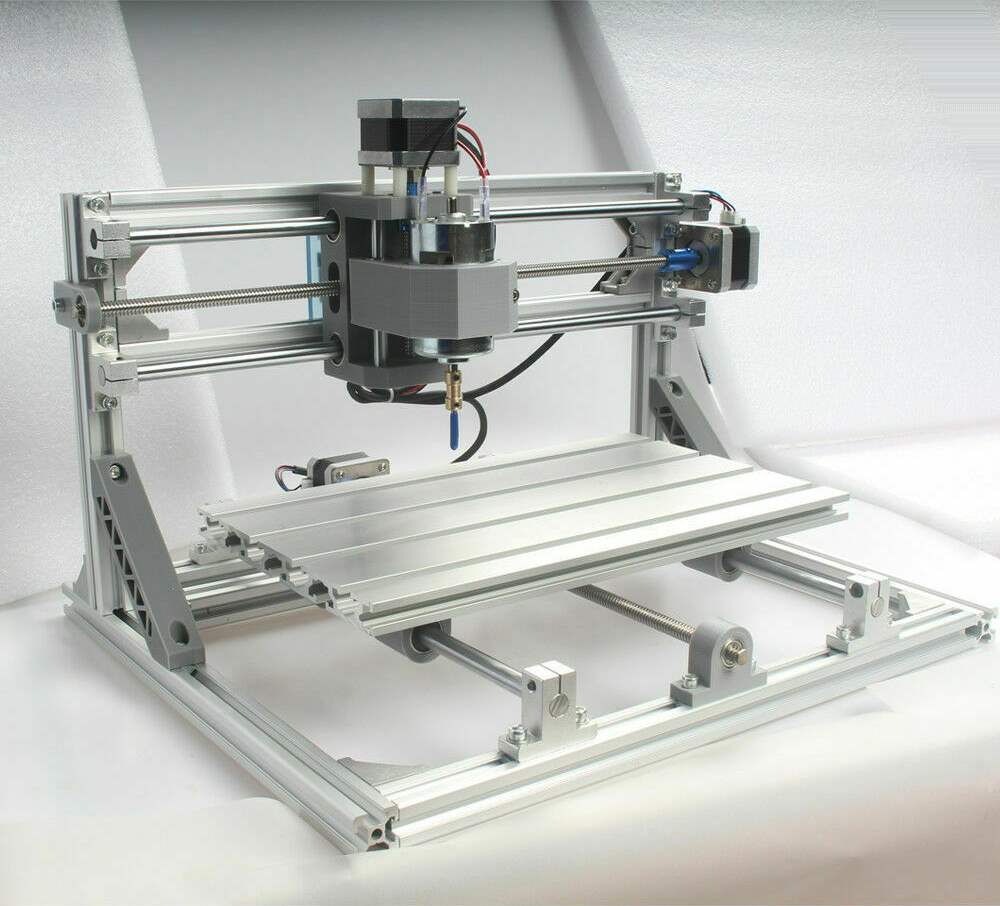
I bought one of those cheap CNC 3018 router engraving machines found on eBay (the 3018 refers to the working travels being 30 cm × 18 cm). I milled a handful of PCBs and was really happy with the results. However, that one machine sent me down a long rabbit hole from which I still have not returned.
Having the ability to draw something on a computer and have a machine cut it out opened a door that I didn’t even know existed. Of course I knew CNC was a thing, but in my mind that was more of a fantasy that took place in some other realm never to be seen by me. This little CNC engraver opened my eyes to the possibilities that are achievable at home.
It wasn’t long before I saw the limits of what that cheap machine had. I managed to cut out some parts from aluminum sheets, but the sound… the racket… the chatter… it was horrible! I set out to do some upgrades, but most of them required custom parts — the kind of parts that I wanted this machine to make but is totally incapable of doing so. The kind of parts that could be made by…
3D Printing
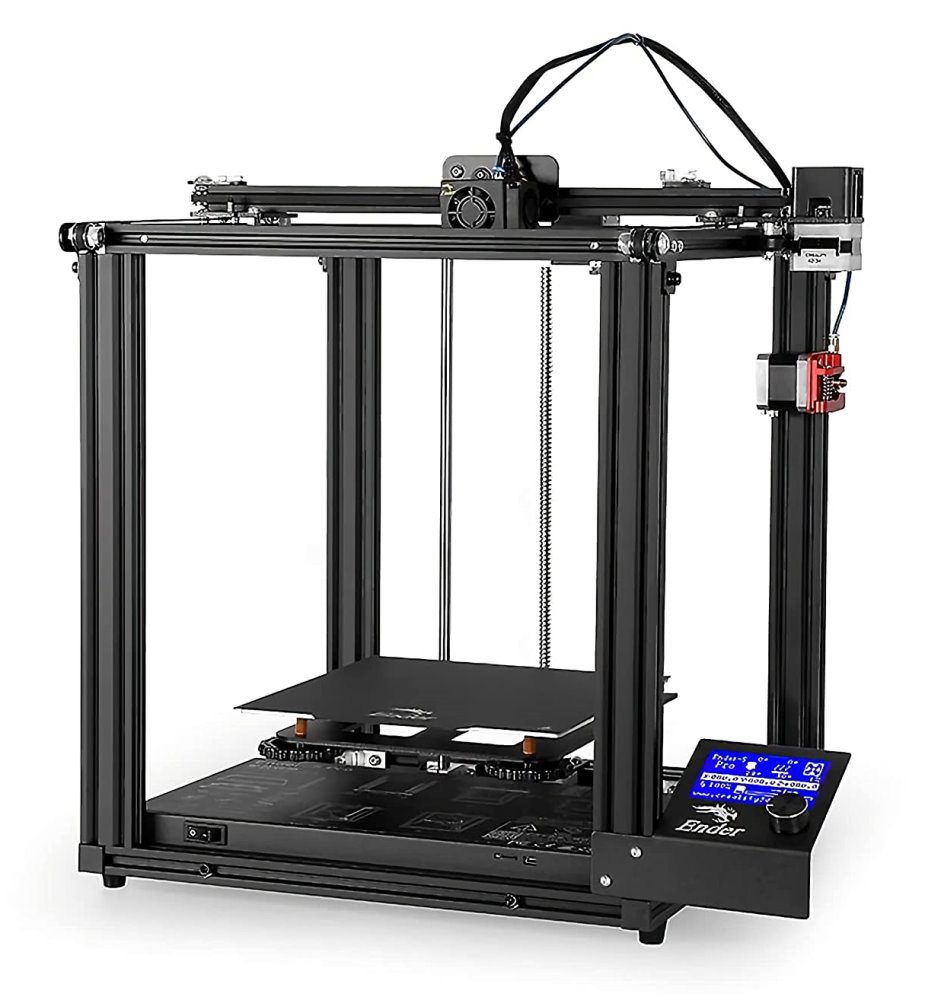
An iconic cornerstone of the DIY maker, the 3D printer, was the next addition to my home workshop. I got an Ender 5 Pro in late 2020 and I can’t even count the number of things I have printed on it… probably well over 400 prints at this point.
One of the first tasks was to print a new spindle mount and x axis carriage for the CNC engraver. This was to upgrade the stock 750 size (I think) motor to a 500 W 52 mm spindle with an ER11 collet holder. It went along side several other printed upgrades that really extended the usefulness of the machine.
At this point I was hooked… addicted to the satisfaction of designing and manufacturing my own parts, tools, and whatever else. I also started frequently watching several machinists on YouTube, most notably This Old Tony and BlondiHacks. I soon got a wild urge to turn metal parts for my printer. Dreams of threading adjustable lead screw nuts for the CNC to remove the backlash. You see where this is going?
The Famous Mini Lathe
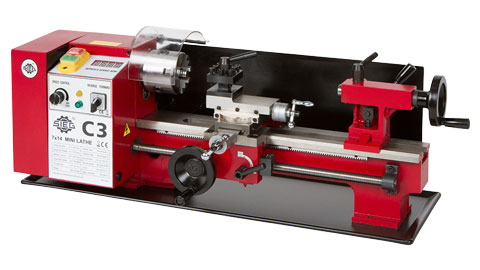
Merely six months after catching the maker fever from my printer, I ordered a SIEG C3 7×14 mini lathe. For a while it sat right next to the CNC engraver, together taking up basically my entire workbench. That wasn’t a problem since the lathe was my primary focus as the time. On the other hand that just took me deeper down the rabbit hole.
I learned a lot from working with the lathe. My prior perception of metallic objects, especially those of steel, was partially shattered. It was shocking how easily these materials were to cut with this machine. These metals are much softer than I had originally imagined them to be. That’s not to say that steel is a soft metal nor that this is a powerful machine, but it really put it all into perspective.
Up until this point it had not occurred to me just how many things could be made on a lathe… how many things are round. Part of my reasoning to get the lathe was for bushings, thread cutting, and spring forming — making sliding things, lead screws, and specialty fasteners — and there’s a lot more that can be done. But alas, that does not encompass everything.
Let’s get back on track here. As the pattern continued, I had several parts that I still couldn’t make. Flat parts.
The Big Little Mill
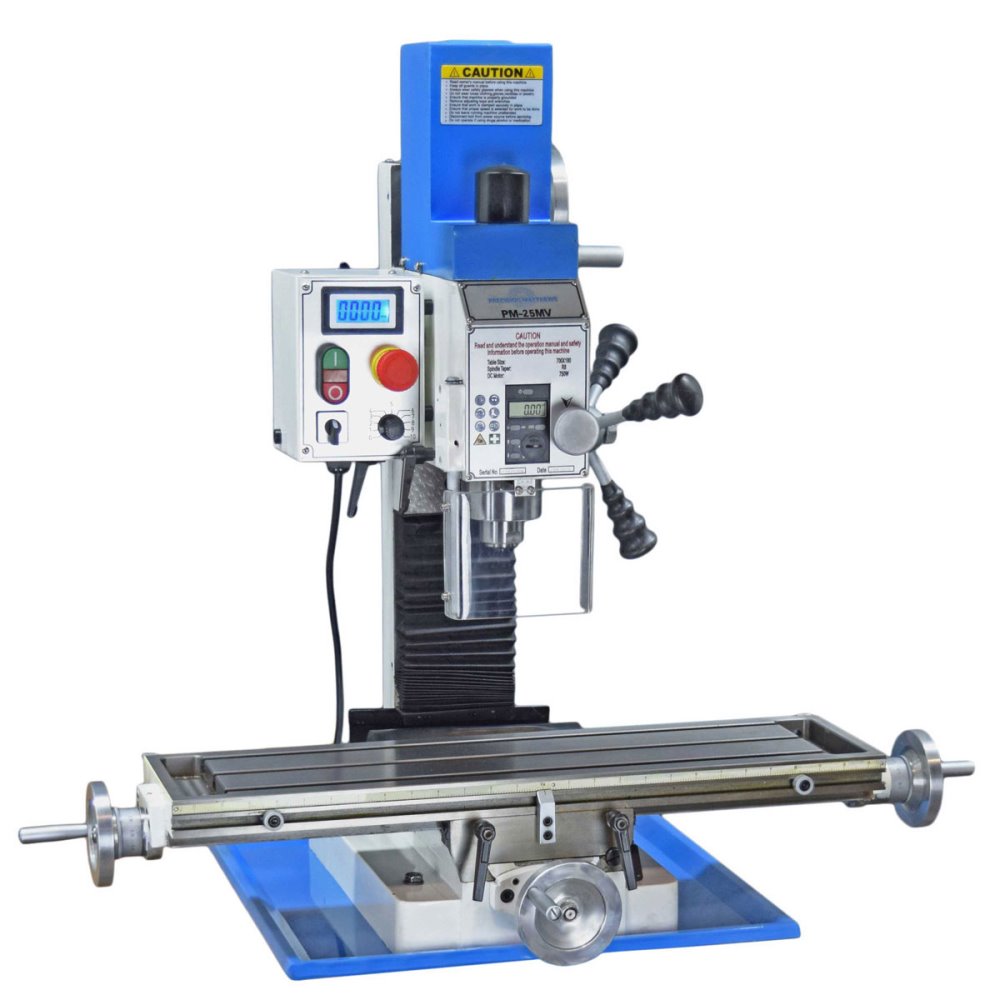
I had wanted to get a drill press for some time but I held off and instead saved up for a bench mill/drill — the Precision Matthews PM-25MV. I won’t go into all the deciding factors but I am very happy with it. The only regret is not getting one with the factory DRO (though I will definitely be adding one later).
Of course all of these machines require their own set of tooling which gets expensive quickly. I try to make whatever tooling I can to cut costs, but some things you just can’t compete with — especially when it comes to cast iron parts or hardened and precision ground tooling. Simple tools like a tap follower, tailstock die holder, dial indicator holder, and machinist hammer are all fairly easy to make… so that I did. I plan on posting up separate articles for some of the shop-made tooling, although I wish I had taken more pictures during their builds.
On the more complicated side, I really wanted a rotary table. For a while I entertained the idea of making one but in the end I just bought one. Luckily the one I found comes with a set of dividing plates so it can be used in lieu of a dividing head for gear cutting and other integer division operations, albeit without the tilting feature.
Anyway, that brings us to now. I’m really excited about all the possibilities that can be achieved, even in a small home shop like mine. I’ll try to get more articles posted on here for a change, but until then… thanks for visiting!